How to create a Next.js Affiliate Program with Stripe
Table of Contents
If you’re building a SaaS using React or Next.js, you’re most likely using a payment provider like Stripe or Paddle. They’re great, but they don’t have a native way of creating an affiliate program and managing affilitaes.
Developing an affiliate program yourself takes a long time as you have to reliably track different customers, listen to a bunch of events and handle refunds yourself.
In this guide we’ll go over how you can create and manage an affiliate program with React with Next.js, Stripe and Afficone - a free affiliate software that handles all the Stripe quirks for you.
Create a useStripe hook
In order to be PCI Compliant, you must load the Stripe.js library directly from https://js.stripe.com. That’s what the loadStripe function does. It pulls the latest version of Stripe.js, no matter which version of the @stripe/stripe-js package you have installed.
// use-stripe.ts

import { loadStripe } from '@stripe/stripe-js';

let promise;

const useStripe = async () => {
    if (!promise) {
	    // You can use a "NEXT_PUBLIC_" environment variable here.
        promise = await loadStripe('[STRIPE_PUBLISHABLE_KEY]');
    }

    return promise;
};

export default useStripe;
The useStripe hook
Here we create an async function that returns a Stripe object, which you can then use in your codebase to create checkouts, fetch prices and all kinds of stuff.
Create a Stripe Checkout session
In this example, we’ll use a button that creates a Stripe Checkout:
// checkout-button.ts

import React from 'react';

const StripeButton = () => {
    function InitiateCheckout() {
        const stripe = await useStripe();

        stripe.redirectToCheckout({
            success_url: 'https://example.com/success',
            mode: 'payment' | 'setup' | 'subscription',
            line_items: [
                // The items being purchased.
            ],
            clientReferenceId: window.Afficone.referral ?? null
        });
    }

    return (
        <button onClick={InitiateCheckout}>Buy Product</button>
    );
};

export default StripeButton;
Using the Stripe hook with Stripe checkouts
Notice the window.Afficone.referral property. This is an affiliate ID provided by the Afficone SDK script. The clientReferenceId property you choose while creating a checkout is passed to the invoice and charge object that Stripe creates after a purchase is complete.
Creating a session on your backend?
If you’re working with sessions on your backend codebase instead, you can pass the window.Afficone.referral value from the browser when making a request to your API.
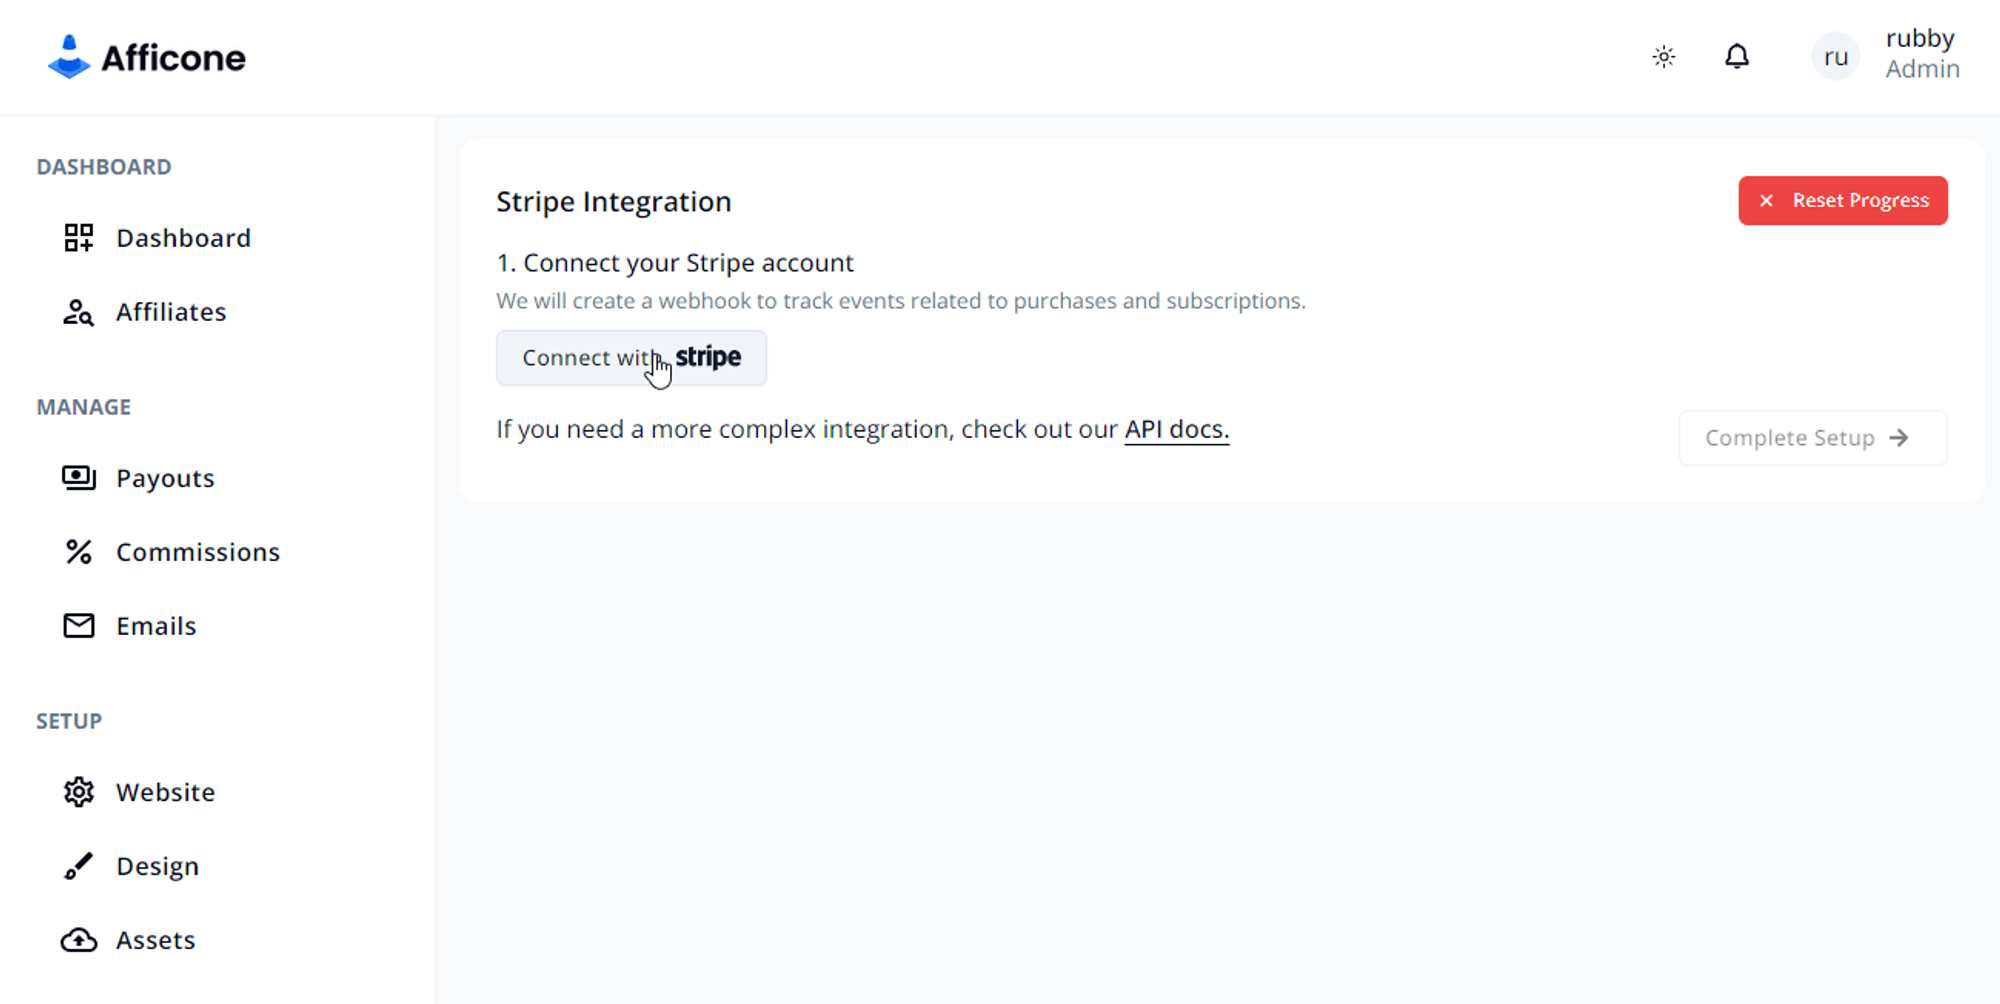
Connect to your Stripe Account to Afficone
After signing up on Afficone and selecting Stripe as your main payment provider, click the Connect with Stripe button. This will redirect you to a Stripe-hosted page where you can select the Stripe Account you want to use for this integration.
In order to track your orders, subscriptions we’ll listen for a few webhook events when an event triggers on your end. These are the following events: charge.refunded, invoice.paid and checkout.session.completed.
If you wish to try tracking orders or your website is not yet live, you can link a Stripe test account instead of a live one. This will allow you to test Afficone without having to handle Stripe processing fees.
Install the Afficone script on your website
Each affiliate program on Afficone has an unique token used for identification. Copy-paste the script on your website with the appropriate token.

Once the script is installed, every click on your website will be monitored and correctly attributed to the affiliate who directed the traffic.
The script will also automatically apply the clientReferenceId option to all payment links and buy buttons on your website.
And that's it! You can now invite potential partners and properly attribute orders to affiliates. If you don't want to use Stripe Checkouts, you can go for one of the other approaches.
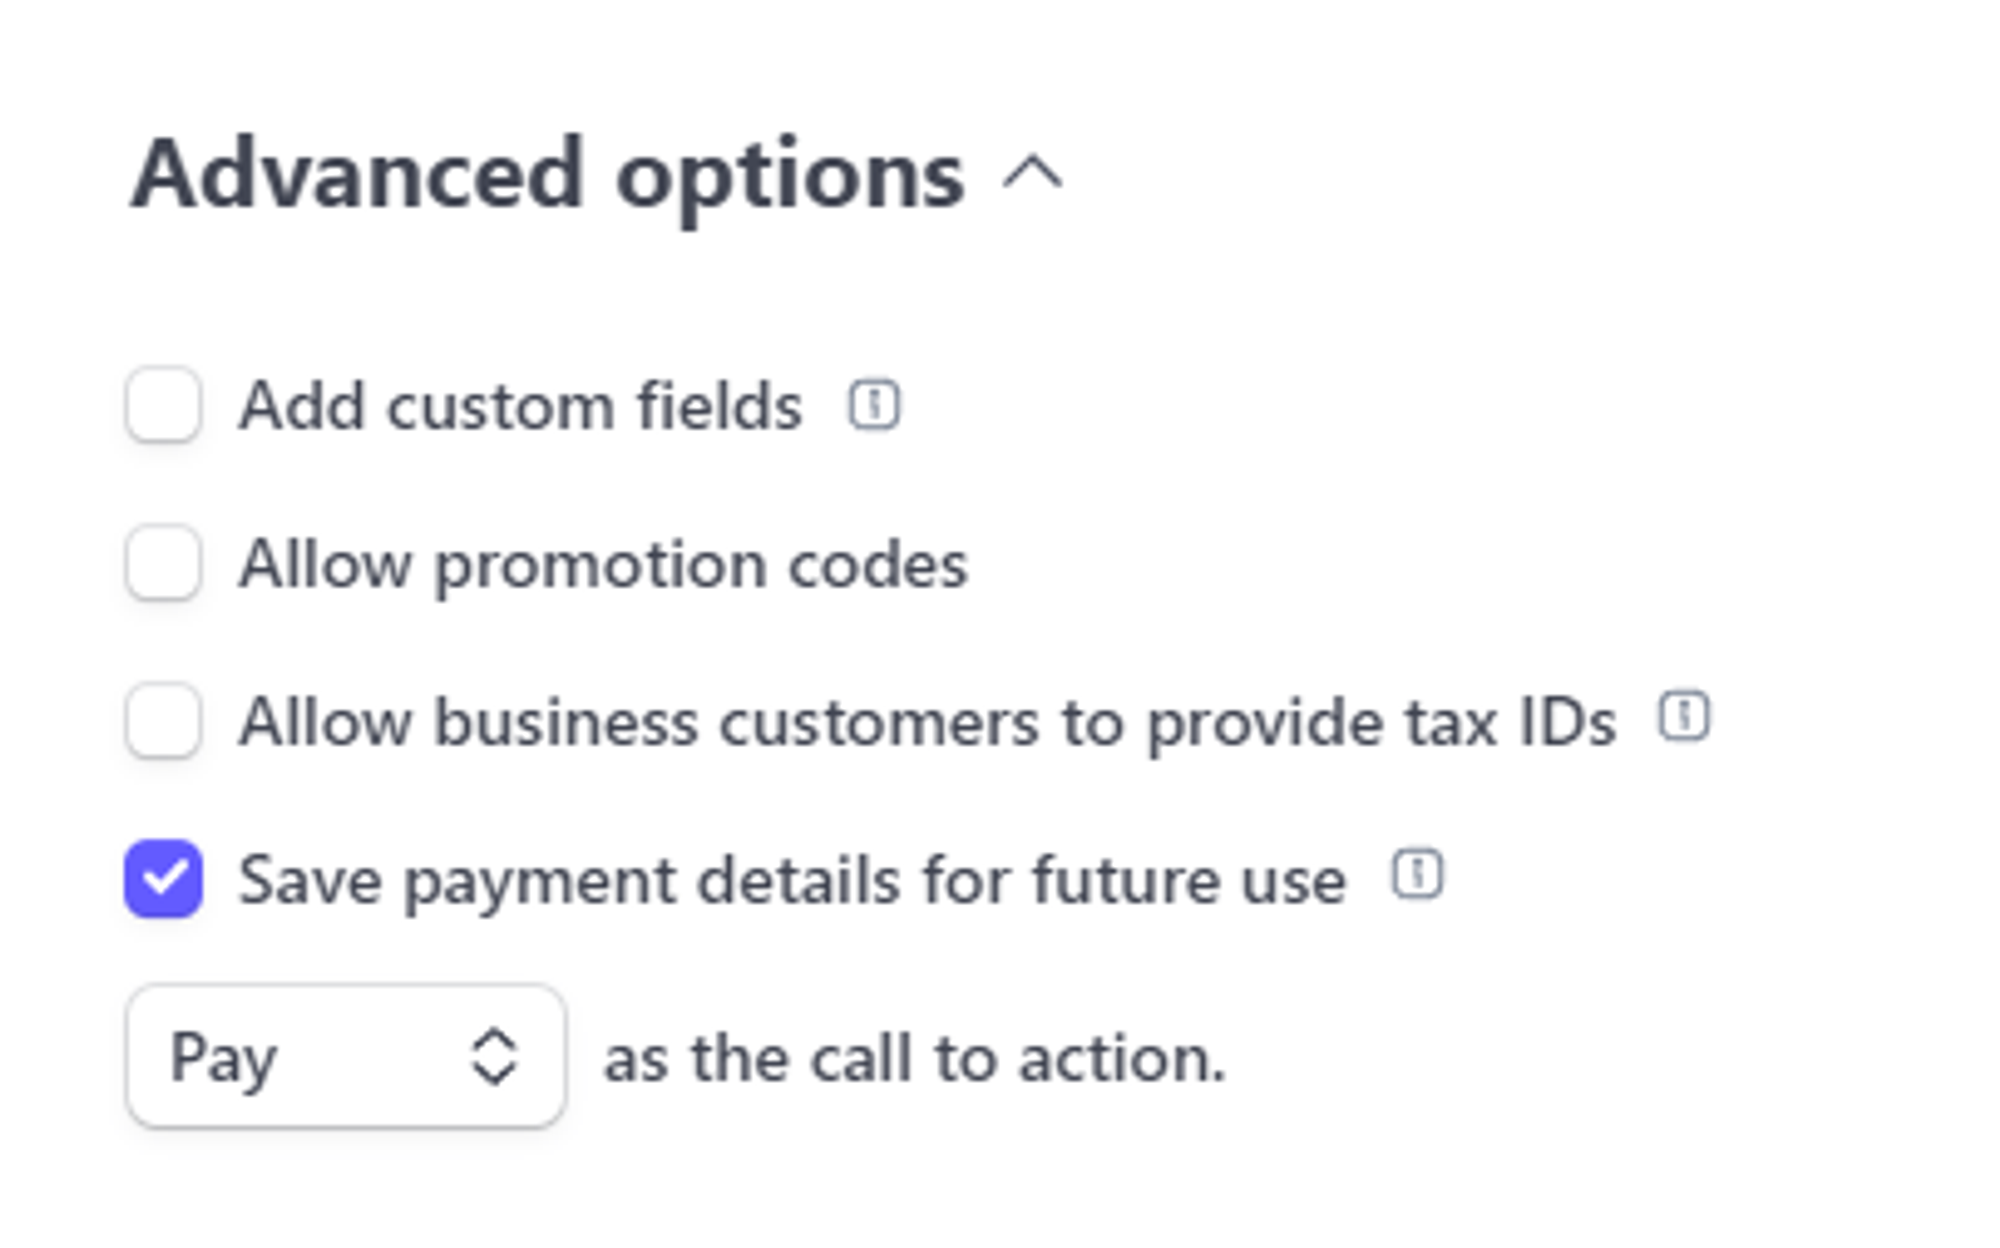
Using Buy Buttons or Payment Links
Buy buttons and Payment links use Stripe Checkouts internally, but you have to change some settings for them to work properly. When creating a payment link or a buy button in your Stripe dashboard, make sure to check "Save payment details for future use".
If you're manually creating payment links via Stripe API, make sure to set customer_creation option to "always".
Using the Stripe API to create customers
Another common approach is creating customers when a user signs up. This is useful for 0-user-interaction free trials. In this case, you can set the customer metadata we normally apply, but manually.
const stripe = require('stripe')('[Your API key]');
const customer = await stripe.customers.create({
    metadata: {
        _afficoneRef: '[AFFILIATE_COUPON]', // You must pass this from the client.
    }
});
Creating a customer manually
Make sure to use exactly "_afficoneRef" as this is the name we use internally.
Conclusion
Creating an affiliate program in Next.js is quite easy. You can either make one yourself that fits your specific needs, or just use an existing third party software.
Affiliate marketing is a growing industry so having an affiliate program for your SaaS or E-Commerce store can be a great marketing and revenue channel.